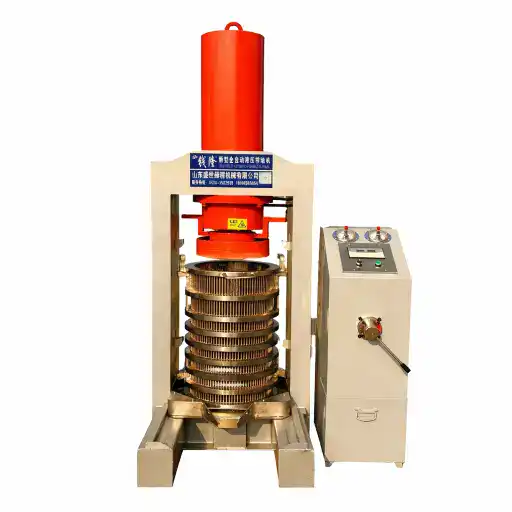
Hydraulic oil press installation and commissioning
Follow the real assembly video before energizing the hydraulic station
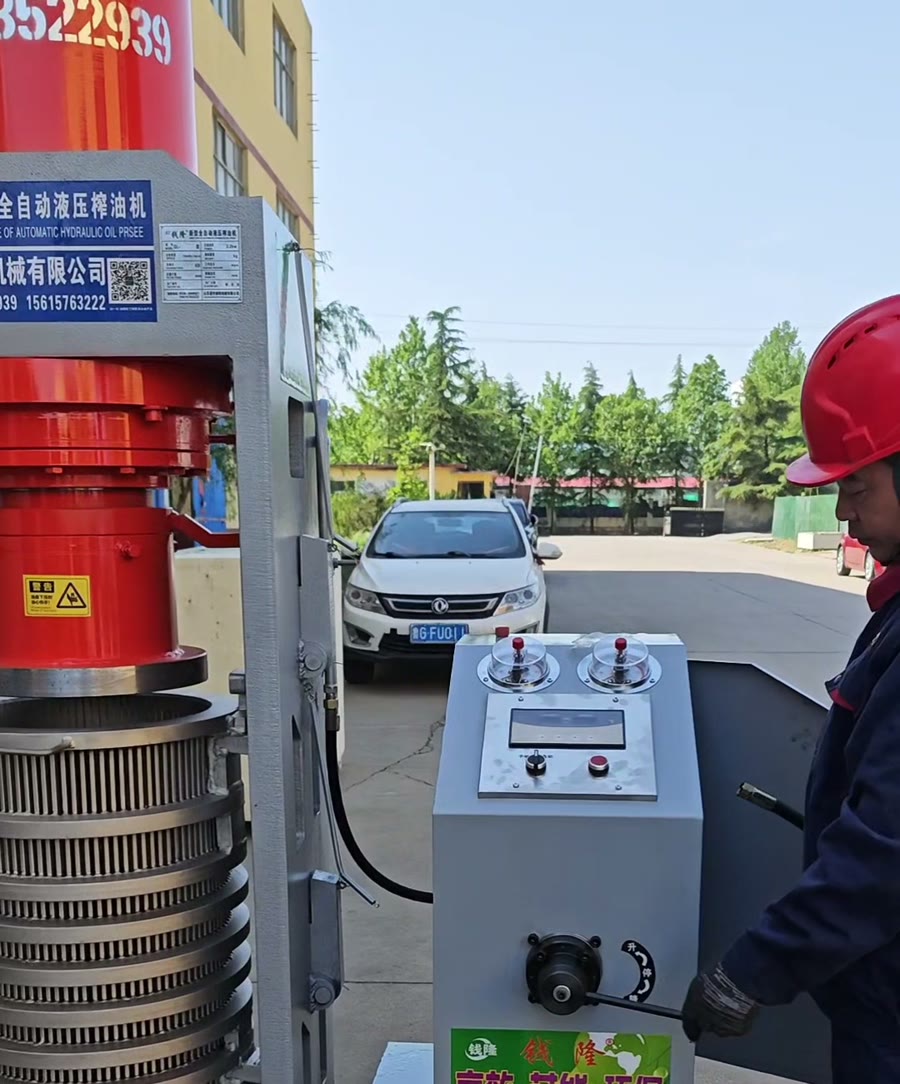
This guide organizes the supplied installation footage into the practical sequence for a vertical hydraulic oil press with a separate hydraulic power unit and control cabinet: install the valve handle, match the hydraulic hoses, connect three-phase power, fill oil, verify motor rotation, and run the first hydraulic stroke.
Complete real installation video
Assembly, hoses, wiring, hydraulic oil, and first movement in 2 minutes 45 seconds
The original Chinese instruction audio is retained. Corrected English captions are included and load by default; use the video CC control if your browser hides them.
Use the supplied machine documents with the video
The demonstrated sequence is for the machine shown. Port positions, hydraulic-oil quantity and grade, electrical details, valve markings, and reference positions can vary by model. Follow the labels, wiring diagram, nameplate, and documents shipped with the specific machine.
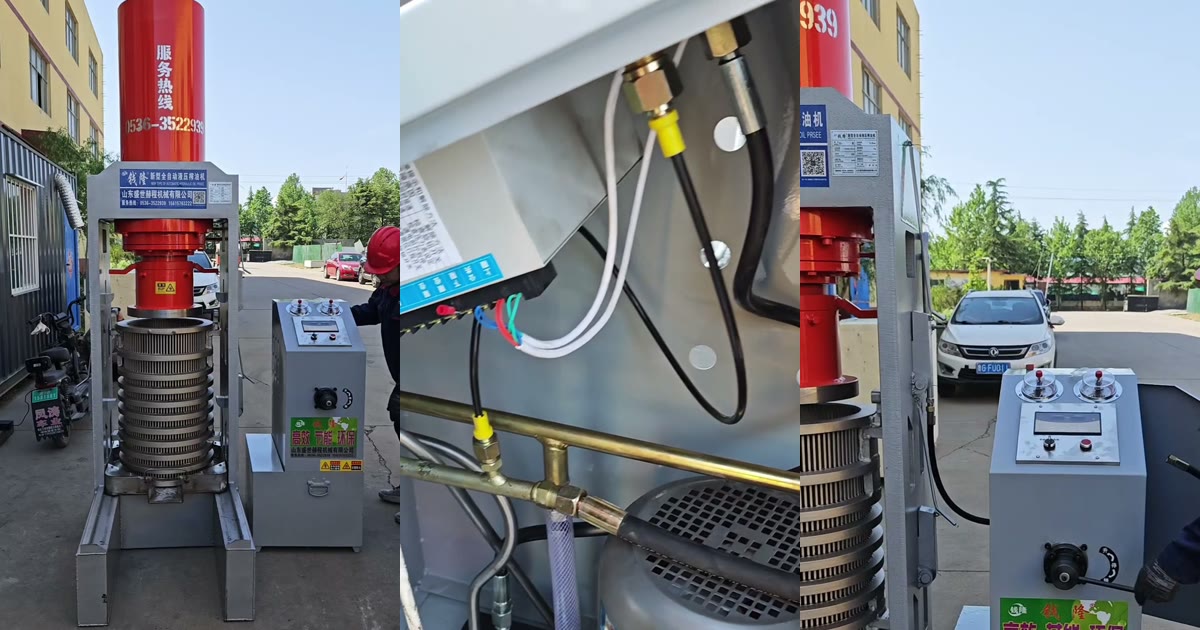
Before installation
Isolate power and prepare the hydraulic system before testing
- Keep the main electrical supply isolated while assembling handles, hoses, and wiring.
- Three-phase wiring and phase-sequence correction must be performed by a qualified electrician.
- Confirm voltage, phase, and frequency against the machine nameplate.
- Fill the hydraulic tank before jogging or starting the pump; never run the pump dry.
- Do not loosen a hose or fitting while the hydraulic system is pressurized.
- Keep sealing faces, fill equipment, and hydraulic oil clean during assembly.
Video chapters
Use the timestamps to return to each connection and commissioning step
| Time | Video action | What to verify |
|---|---|---|
| 00:10 | Install the reversing-valve handle | Handle is threaded securely and moves without looseness. |
| 00:18 | Connect hydraulic hoses | Sealing faces are clean and fittings start without cross-threading. |
| 00:52 | Match numbered connections | Every hose tag matches the corresponding machine and power-unit port. |
| 01:15 | Connect three-phase power | Supply, protective earth, and wiring follow the machine documents. |
| 01:22 | Fill hydraulic oil | The specified clean oil is added before the pump is energized. |
| 01:28 | Check motor rotation | The demonstrated motor rotates clockwise in the arrow direction. |
| 01:56 | Run the first press-head stroke | The press head moves smoothly down and then retracts. |
| 02:22 | Recheck and top up the oil level | The machine is stopped before final oil-level and leak checks. |
Steps 1 and 2
Install the control handle, then connect clean hydraulic fittings
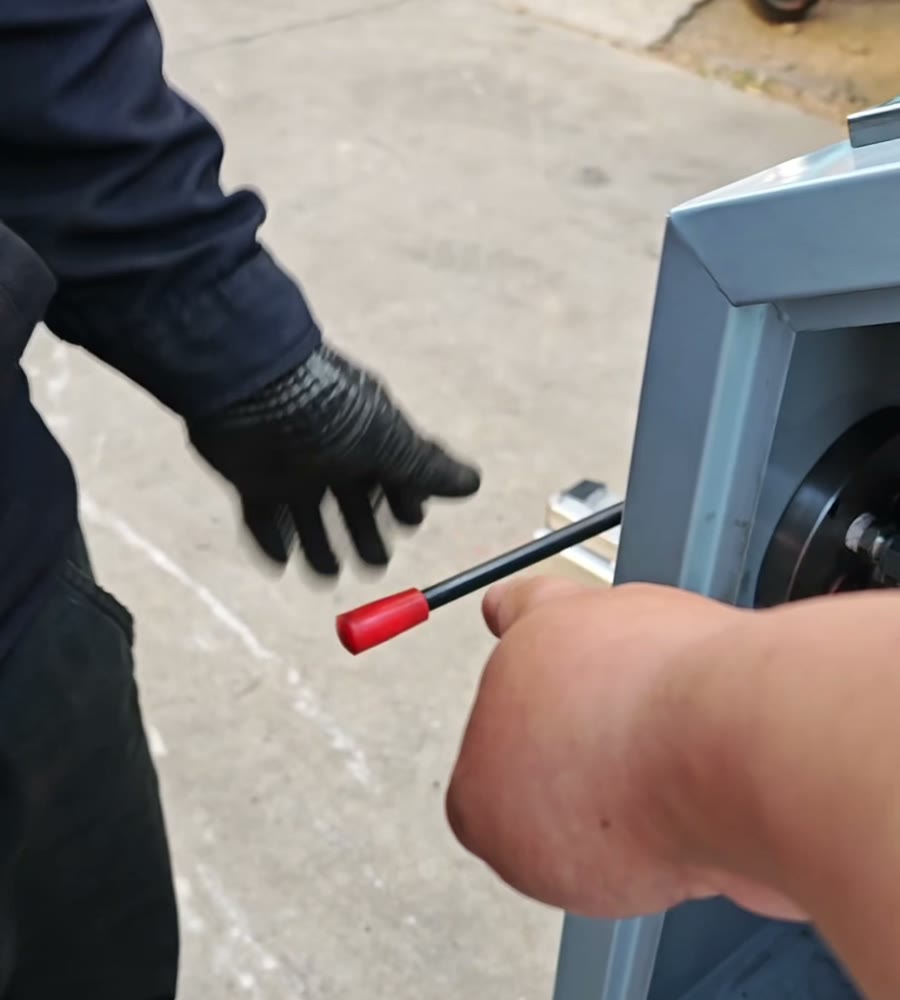
Step 1
Install the reversing-valve handle
Locate the red-tipped handle packed inside or beside the hydraulic power unit. Thread it into the reversing-valve hub and tighten it so it operates without looseness.
- Confirm the valve moves cleanly between its marked positions.
- Do not force the handle against the valve stops.
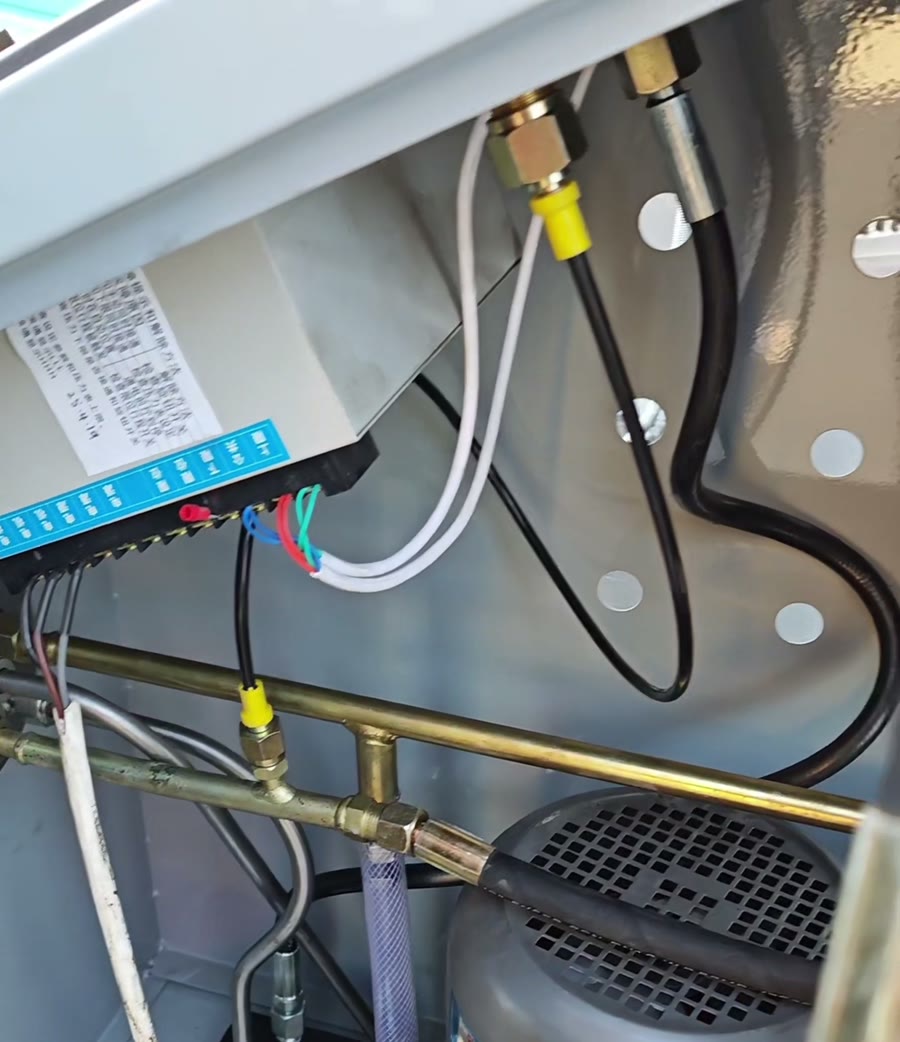
Step 2
Connect and tighten the hydraulic hoses
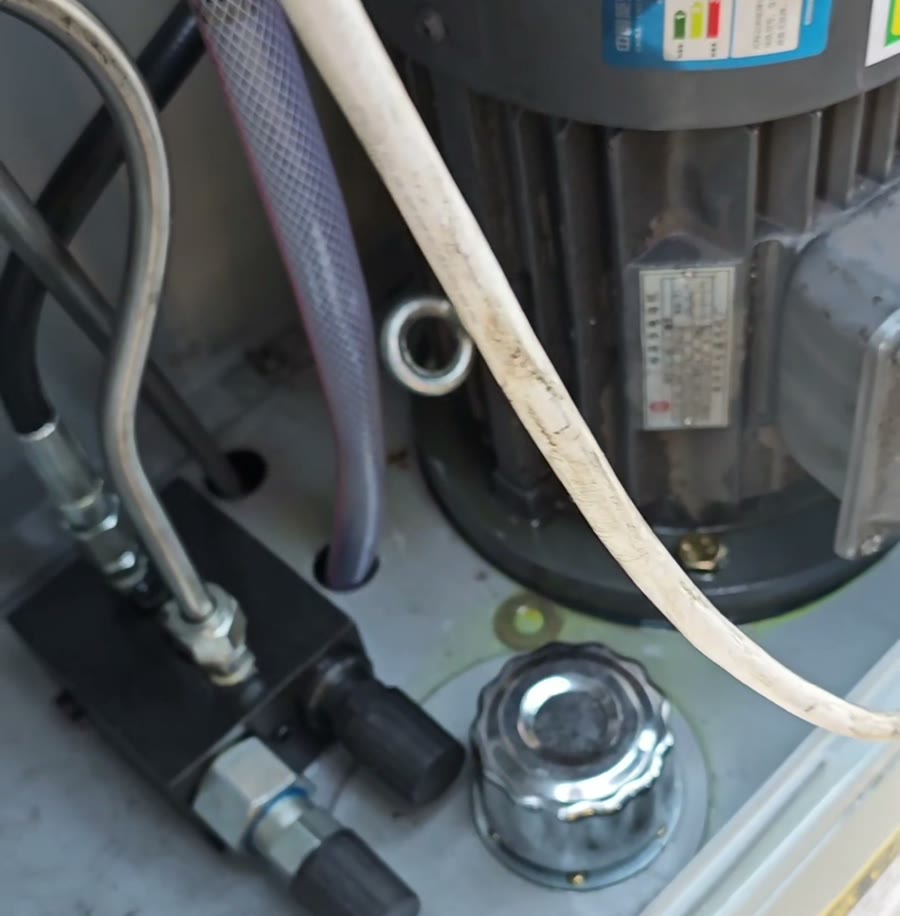
Connect the short fitting at the hydraulic station first. In the demonstrated installation, the long rubber high-pressure hose connects to the upper machine port.
- Keep sealing faces clean before assembly.
- Start threaded fittings by hand to avoid cross-threading.
- Tighten securely without damaging the fitting.
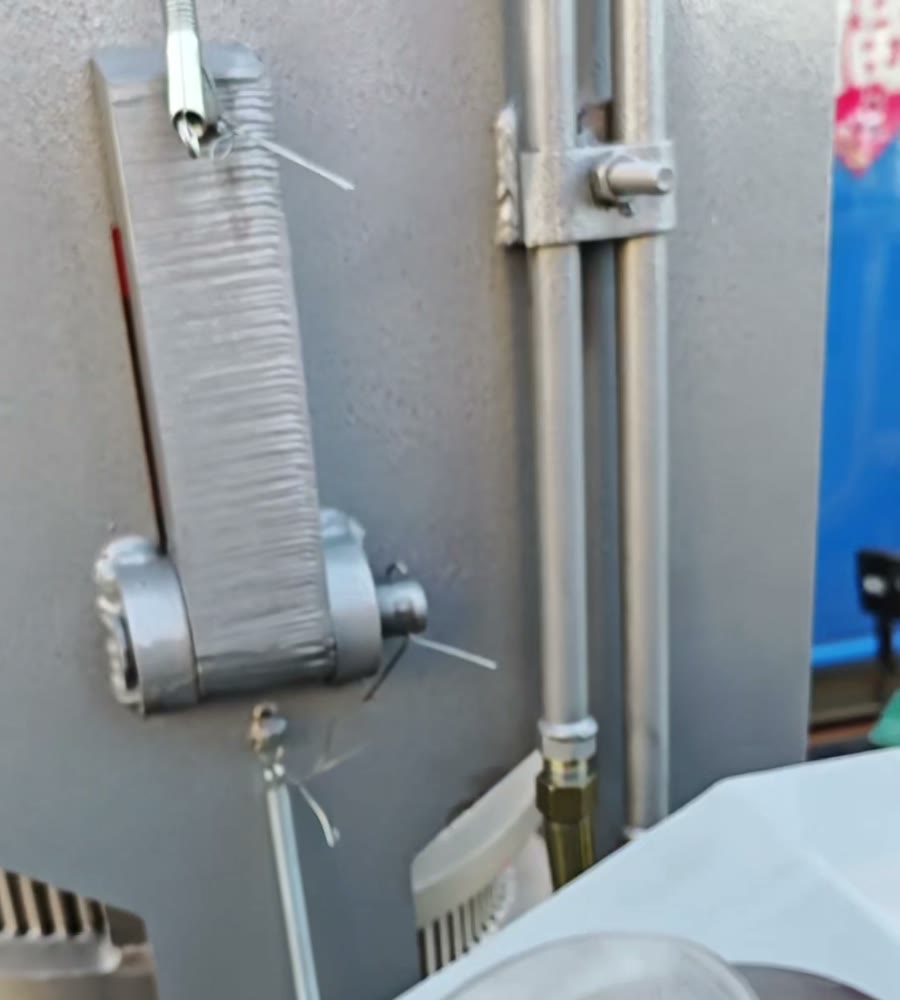
Port identification
Match every factory number before tightening the final connection
The hose and port tags prevent guessing during assembly. Compare both ends before tightening, and keep the tags in place until commissioning is complete.
Do not infer a missing connection
If a number tag is missing, damaged, or inconsistent with the supplied diagram, stop and contact the factory with clear photos of the machine, hydraulic station, hoses, and nameplate.
Steps 3 and 4
Complete qualified electrical work, then fill the tank before any motor test
Step 3
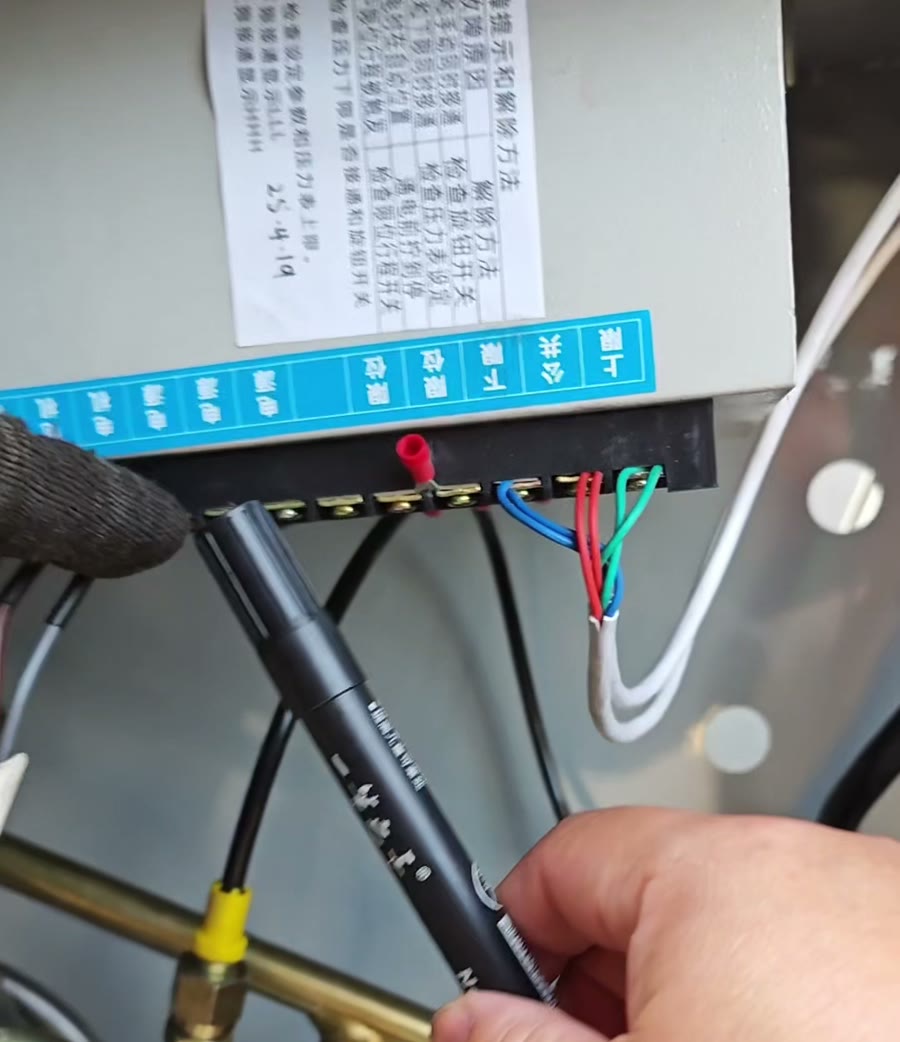
Connect the three-phase electrical supply
A qualified electrician should connect the incoming supply according to the wiring diagram and nameplate. The machine shown in the video has three phase terminals.
- Verify voltage and frequency before connection.
- Connect protective earth or ground correctly.
- Keep the main isolator off until the tank is filled.
Step 4
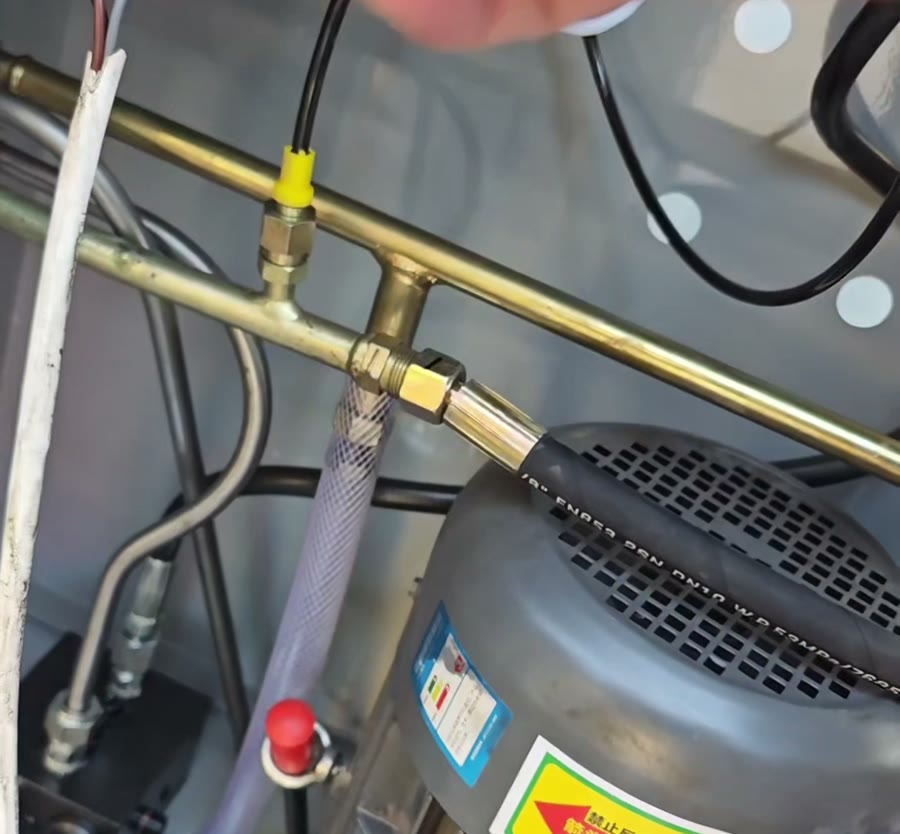
Fill the hydraulic-oil tank
Open the fill port and add the hydraulic-oil grade stated in the machine documents. Complete this step before using the jog button or running the motor.
- Use clean oil and clean filling equipment.
- Prevent dirt, water, and packaging debris from entering the tank.
- Do not start the pump with an empty or low tank.
Steps 5 and 6
Verify rotation before running the first full hydraulic stroke
Step 5
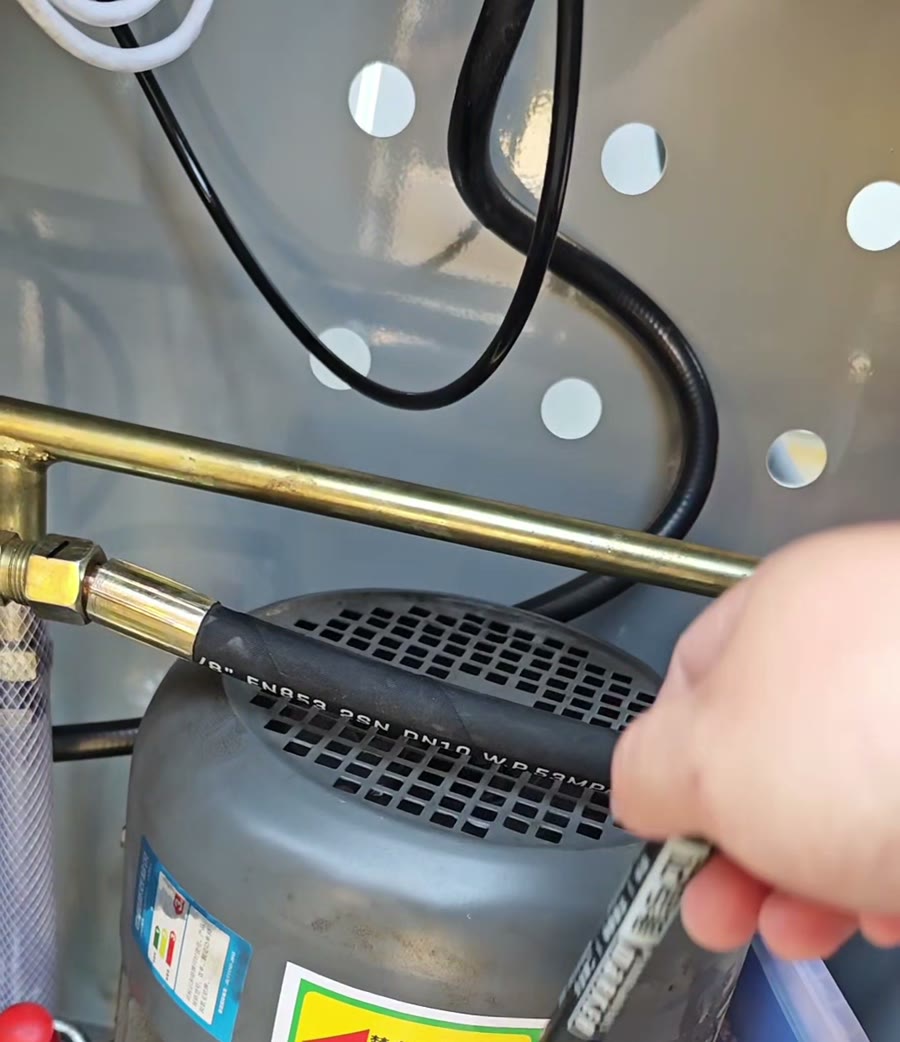
Jog the motor and confirm direction
After the tank is filled, briefly press the jog button and observe the motor. The demonstrated machine must rotate clockwise in the direction of the arrow.
If rotation is incorrect, stop immediately and have a qualified electrician correct the three-phase sequence before testing again.
Step 6
Run the first down-and-up stroke
- Move the reversing valve to the DOWN position.
- Lower the press head completely so oil fills the hydraulic circuit.
- Move the valve to the UP/RAISE position.
- Retract the press head to the reference position marked on the machine.
- Stop the machine before checking the tank again.
Step 7
Recheck the oil level and inspect every connection
The tank level can fall after the first stroke because hydraulic oil has entered the cylinder and hoses. With the machine stopped, top up the tank to the level shown for the supplied machine and reinstall the fill cap.
- Inspect every hose and fitting for visible leakage.
- Listen for abnormal pump noise.
- Confirm the press head moves smoothly in both directions.
- Reinstall guards, covers, and the fill cap before normal pressing.
Final commissioning checklist
Confirm the installation before loading oilseed
- Reversing-valve handle is installed and secure.
- All hose numbers match the correct ports.
- Hydraulic fittings are tight with no visible leaks.
- Electrical supply matches the nameplate.
- Protective earth or ground is connected.
- The tank was filled before pump operation.
- Motor rotation follows the machine arrow.
- The press head completes a smooth down/up cycle.
- Oil level was rechecked after the first stroke.
- Guards, covers, and fill cap are reinstalled.
Send evidence when requesting support
Provide the machine nameplate, control-cabinet photo, hose and port tags, current oil level, and a short video showing the symptom. This is more reliable than describing an unknown port or noise without the machine identification.
Initial troubleshooting
Stop the machine before correcting a hydraulic or electrical fault
| Symptom | Checks | Safe action |
|---|---|---|
| Pump is noisy or does not build pressure | Oil level, motor direction, hose connections, and valve position | Stop the machine and correct the cause before running again. |
| Motor rotates opposite the arrow | Three-phase sequence | Have a qualified electrician correct the phase sequence. |
| Press head does not move | Tank level, reversing-valve position, hose tags, and pump direction | Isolate power before inspecting the connections. |
| Oil level drops after the first stroke | Oil filling the cylinder and hoses | Stop the machine and top up to the specified level. |
| Oil leaks from a fitting | Loose fitting, damaged seal, or incorrect connection | Stop and depressurize the system before repair. |
Related machine pages
Check the model family before applying the installation sequence
Request installation support for the supplied machine
Send the nameplate, electrical supply, control cabinet, hose tags, oil level, and a short video of the issue so the correct connection and commissioning advice can be matched to the machine.